Article-at-a-Glance
-
Understanding your farm’s energy needs is crucial for selecting the right solar irrigation system.
-
Strategic placement of solar panels ensures maximum sunlight absorption and energy efficiency.
-
Matching the size of the solar system to your irrigation demands can optimize water and energy use.
-
Initial costs and long-term savings are important factors when considering solar irrigation.
-
Regular maintenance will keep your solar irrigation system running smoothly for years.
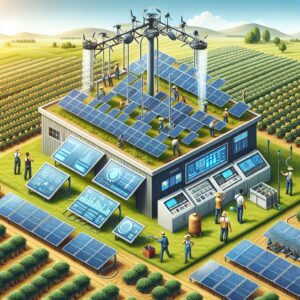
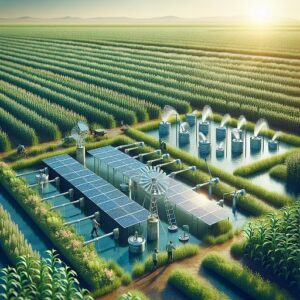
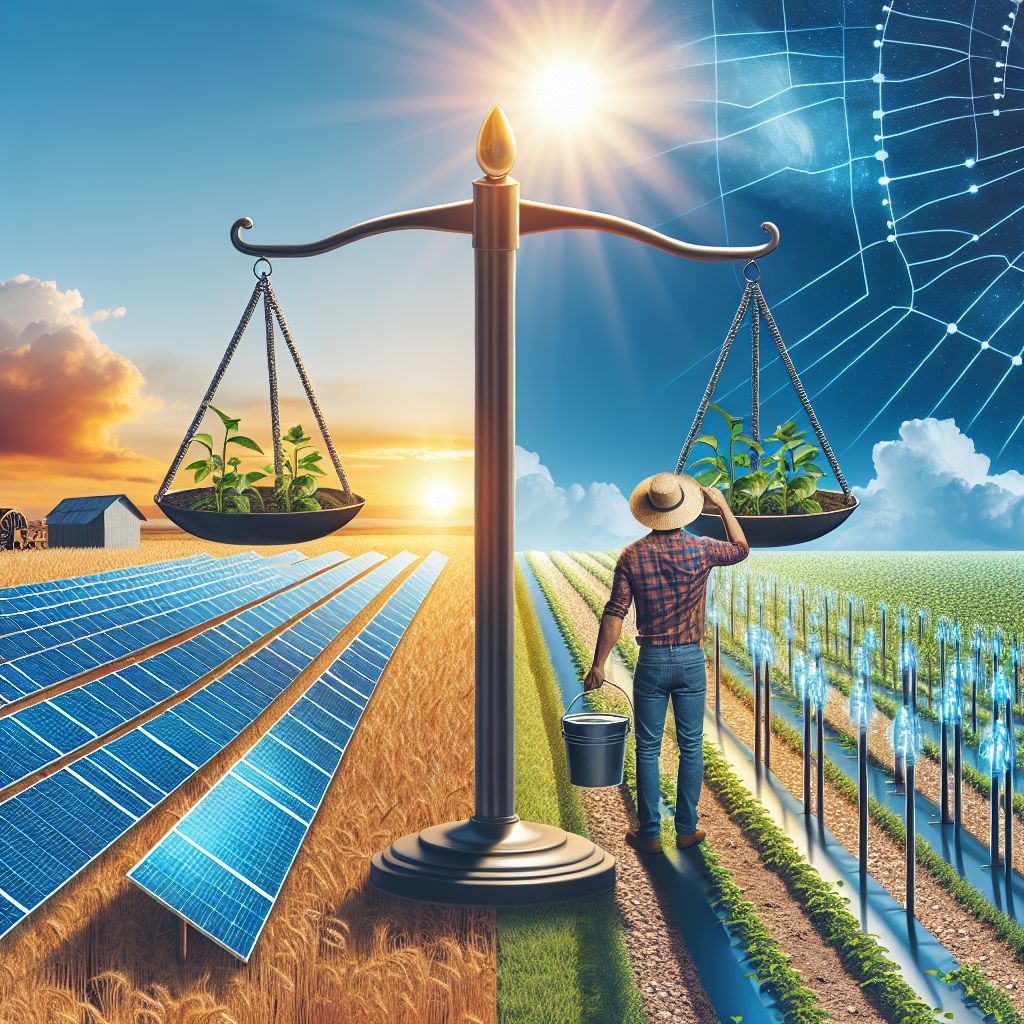
Why Go Solar for Your Farm’s Water Needs?
As a farmer, you’re not just a steward of the land; you’re also an innovator constantly seeking ways to improve efficiency and sustainability. One of the most impactful changes you can make is switching to a solar-powered irrigation system. Why? Because solar energy is abundant, renewable, and can significantly reduce your operating costs in the long run. Plus, it’s a clean power source that helps protect the environment we all rely on.
Most importantly, solar irrigation systems offer independence from the grid and unpredictable fuel prices. This means more control over your irrigation costs and the peace of mind that comes with a reliable water supply for your crops, season after season.
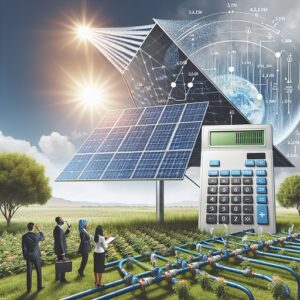
Calculating Your Farm’s Thirst for Power
Before diving into solar irrigation, you need to get a clear picture of your farm’s energy requirements. This isn’t just about knowing how much water your crops need; it’s about understanding how much power it takes to deliver that water. Here’s how to calculate it
|
Step |
Description |
Example Calculation |
|---|---|---|
|
1. |
Determine your energy consumption (kWh). |
Add up the wattage of all electrical devices used on the farm and estimate how many hours each device operates per day. Multiply the wattage by the hours of use to get the daily energy consumption in kWh. Sum up the daily consumption for all devices. |
|
2. |
Calculate daily energy usage. |
If you have devices with different daily usage patterns, calculate each device’s daily energy usage separately, then sum them up. |
|
3. |
Factor in seasonal variations. |
Consider any seasonal variations in energy usage due to changes in activities or weather conditions. Adjust the daily energy usage accordingly. |
|
4. |
Determine desired battery backup. |
Decide how many days of backup power you want in case of cloudy weather or other disruptions. Multiply the daily energy usage by the number of backup days desired. |
|
5. |
Calculate total energy needs. |
Add the daily energy usage to the energy needed for backup to get the total energy needs in kWh. |
|
6. |
Determine solar panel efficiency and average sunlight hours. |
Research the efficiency of solar panels available in your area and the average sunlight hours per day for your location. |
|
7. |
Calculate required solar panel capacity. |
Divide the total energy needs by the product of solar panel efficiency and average sunlight hours to determine the required capacity of solar panels in kW. |
|
8. |
Account for system losses and inefficiencies. |
Factor in losses due to shading, dust, panel degradation, etc., to ensure your system can meet your needs even under less-than-optimal conditions. |
|
9. |
Determine the number of solar panels needed. |
Divide the required solar panel capacity by the rated capacity of each solar panel to find out how many panels you need. |
With these numbers in hand, you can estimate the size of the solar power system required to meet your irrigation needs. Remember, this is a simplified overview, and actual calculations may vary based on specific factors such as location, climate, types of equipment, and energy efficiency measures implemented. It’s advisable to consult with a professional solar energy installer for a more accurate assessment.
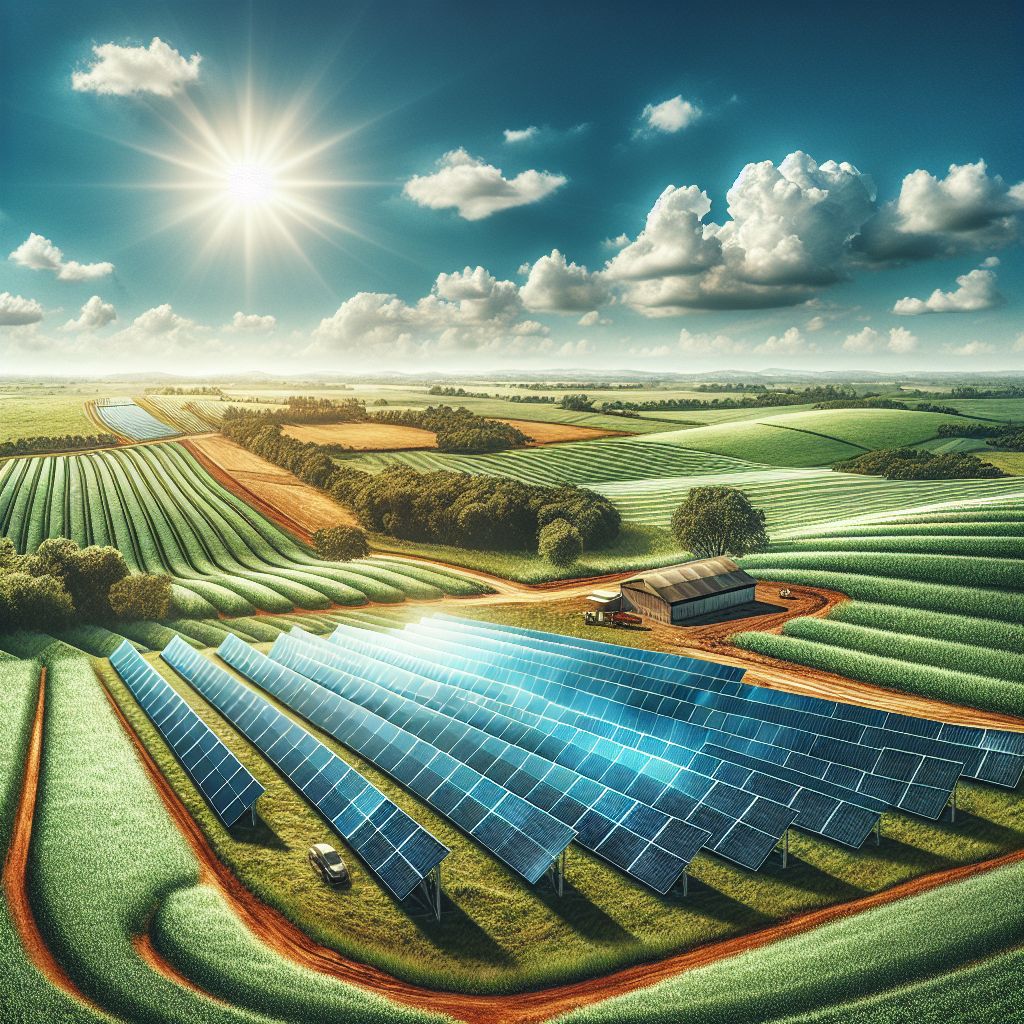
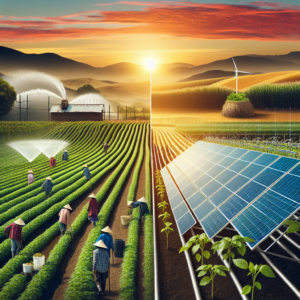
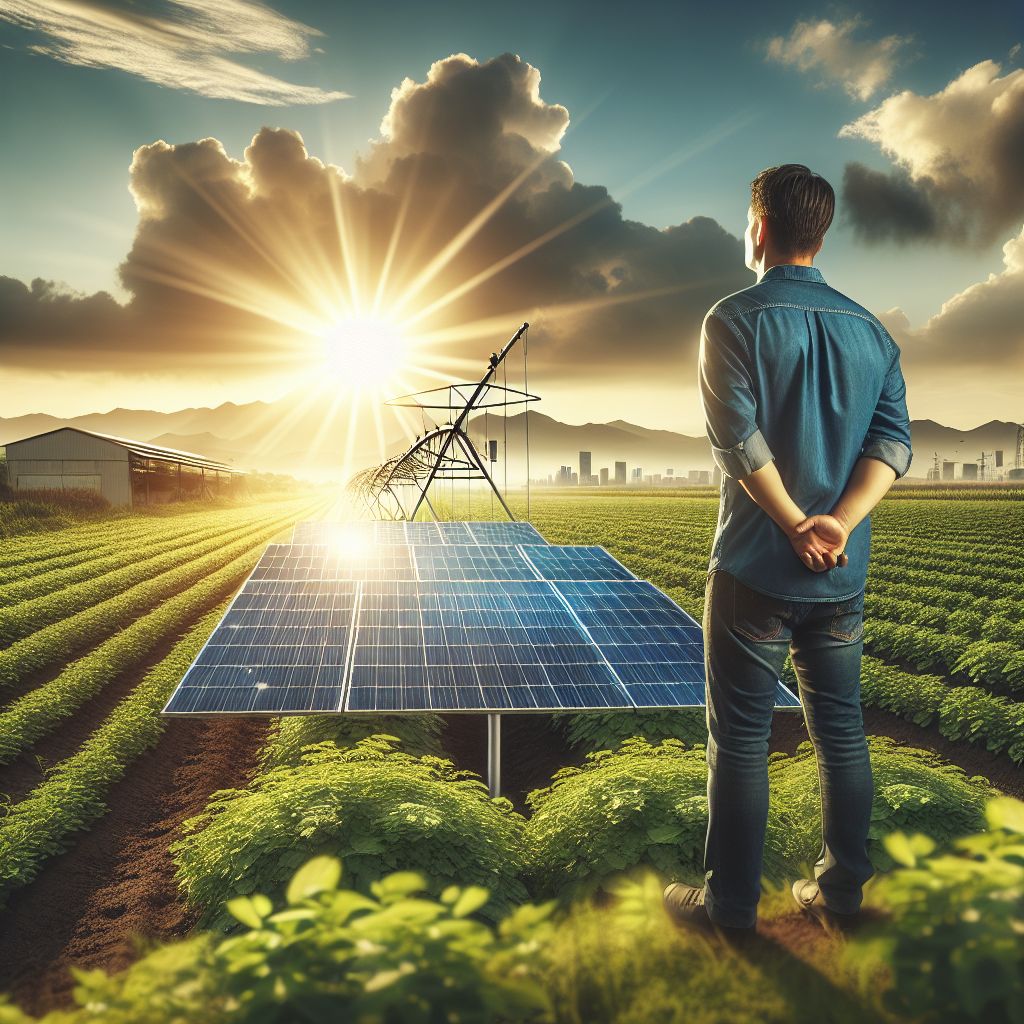
Scouting the Perfect Spot: Maximizing Sunlight for Optimum Power
Now that you know how much power you need, let’s talk about where to get it. Solar panels need direct sunlight to work efficiently, so choosing the right location on your farm is key. You’re looking for a spot that gets plenty of sun throughout the day, year-round, without shade from trees or buildings.
Keep in mind, the angle of the sun changes with the seasons, so a place that’s sunny in summer might be shaded in winter. A good rule of thumb is to observe potential locations over the course of a year to see how sunlight availability changes.
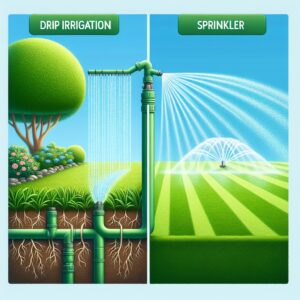
Besides that, you’ll want to consider the proximity to your water source and crops. The closer your solar panels are to the pump and irrigation system, the less energy you’ll lose in transmission.
Example: Farmer Joe noticed that the south-facing slope near his main water reservoir stayed sunny all year. By installing his solar panels there, he was able to maximize energy generation with minimal transmission loss.
When the Sun Hits Your Land: Finding the Prime Location
Once you’ve scouted potential spots, it’s time to get more specific. You’re looking for a location with the best ‘solar window’—the period when the area receives unobstructed sunlight. This often means a south-facing position in the Northern Hemisphere, and north-facing in the Southern Hemisphere.
Also, consider the landscape. Flat terrain is ideal, but if your land is sloped, you’ll need to adjust the angle of your panels to face the sun directly.
Solar Panel Placement: Angles and Orientation for Max Efficiency
The angle and orientation of your solar panels can make a big difference in how much energy they produce. A common approach is to set them at a tilt equal to your latitude, facing true south in the Northern Hemisphere or true north in the Southern Hemisphere. This maximizes their exposure to the sun over the course of the year.
Adjusting the tilt seasonally can capture even more sunlight, but it also adds complexity to your setup. For many farmers, a fixed-tilt system strikes a good balance between simplicity and efficiency.
Now, let’s roll up our sleeves and get into the nitty-gritty of sizing your solar system to meet your irrigation demands.
Investing Wisely: Understanding Costs and Benefits
Let’s talk money, because let’s face it, the bottom line matters. Investing in a solar irrigation system might seem like a big upfront cost, but it’s important to weigh that against the long-term savings. Over time, the cost of solar panels and related equipment has decreased, making it a more accessible option for many farmers. And with the right setup, the savings on energy bills will more than pay for the initial investment.
Shelling Out for the Sun: The Economics of Solar Irrigation
When you’re budgeting for solar irrigation, you’ll need to consider several costs:
-
The solar panels themselves
-
Batteries for energy storage
-
Inverters to convert solar power to usable electricity
-
The pump and any additional irrigation equipment
-
Installation and labor costs
But it’s not all about the costs. The benefits stack up quickly:
-
Reduced energy bills month after month
-
Low maintenance costs
-
Longevity of solar panels (often 25 years or more)
-
Potential for government incentives and rebates
For example, it usually costs $5,000 to $10,000 to set up a small to medium-sized solar irrigation system. This includes the panels, pump, and installation. While that number might give you pause, remember that you could be saving up to 80% on your energy bills every year following that initial investment.
Here’s an example: After installing a solar irrigation system, Farmer Anne saved $200 a month on her energy bills. In just over two years, those savings covered the cost of her solar setup.
Paying Less for More: Financial Incentives and Rebates
It’s worth noting that many governments offer incentives for renewable energy investments. These can take the form of tax credits, rebates, or grants. For instance, in the United States, the federal government offers a tax credit for solar energy systems, which can cover a significant portion of the installation costs.
Ensuring a Reliable Drip: Maintenance and Upkeep of Your Solar Setup
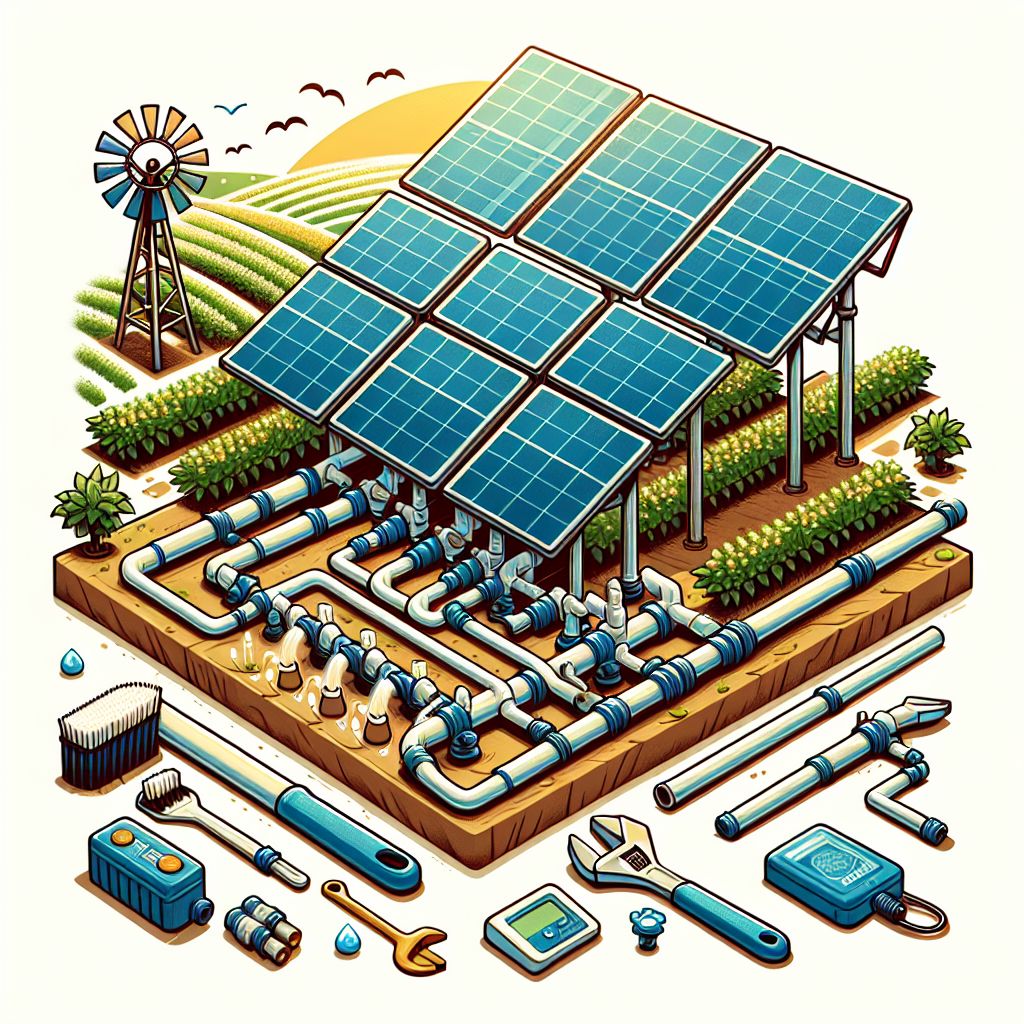
Like any piece of farming equipment, your solar irrigation system will need some TLC to keep it running smoothly. The good news is, solar systems are relatively low maintenance. Here’s what you’ll need to keep an eye on:
-
Regular cleaning of solar panels to ensure they’re absorbing as much sunlight as possible
-
Checking and maintaining batteries if your system includes energy storage
-
Inspecting and servicing the pump and other irrigation equipment to prevent breakdowns
Keeping It Clean: Routine Solar Panel Maintenance
Clean panels mean more power. Dust, leaves, and bird droppings can reduce your panels’ efficiency, so regular cleaning is essential. How often you clean your panels will depend on your environment, but a good rule of thumb is to check them every few months. If you’re in a dusty area or have a lot of birds around, you might need to clean them more frequently.
For most setups, cleaning is as simple as hosing down the panels with water. If they’re particularly dirty, you might need to scrub them gently with soapy water and a soft brush. Just be careful not to scratch the surface of the panels.
Preventative Measures: Protecting Your Investment from the Elements
Weather can be a fickle friend to farmers, and your solar panels are no exception. Hail, high winds, and lightning can all pose risks. To protect your investment:
-
Make sure your panels are installed in a location where they’re less likely to be hit by falling branches or debris.
-
Consider installing protective barriers or shields if you’re in an area prone to hail.
-
Ground your system properly to protect against lightning strikes.
This below table summarizes the key maintenance tasks for a solar irrigation system.
|
Maintenance Task |
Description |
Frequency |
|---|---|---|
|
Cleaning Solar Panels |
Remove dust, dirt, leaves, and debris from solar panels to ensure maximum sunlight absorption. |
Every 1-3 months |
|
Inspect Wiring and Connections |
Check wiring and connections for signs of wear, corrosion, or damage. Repair or replace as necessary. |
Annually |
|
Check Pump and Motor |
Inspect pump and motor for any leaks, unusual noises, or performance issues. |
Every 6 months |
|
Test Pump Performance |
Conduct a flow rate and pressure test to ensure the pump is delivering water efficiently. |
Annually |
|
Monitor Battery Health |
Check battery voltage levels and perform a capacity test to ensure proper functioning. |
Every 6 months |
|
Inspect Controller and Sensors |
Ensure the irrigation controller and sensors are functioning correctly and accurately. |
Annually |
|
Lubricate Moving Parts |
Apply lubrication to moving parts such as bearings, shafts, and gears to prevent wear and tear. |
Every 6-12 months |
|
Check for Shading |
Regularly assess for any new shading from nearby structures or vegetation that may affect panel output. |
Every 3-6 months |
|
Inspect Ground Mounting System |
Check the integrity of the ground mounting system, including anchors, supports, and frames. |
Annually |
|
Test Emergency Shutdown Systems |
Verify that emergency shutdown systems are operational and able to stop the system if needed. |
Annually |
Maintenance is all about prevention. By taking these steps, you can avoid costly repairs down the line. It’s important to note that the frequency of maintenance tasks may vary depending on factors such as climate, environment, system components, and manufacturer recommendations. Regular inspections and proactive maintenance can help maximize the performance and lifespan of your solar irrigation system.
Teaming Up with the Sun: A Step-by-Step Guide to Installation
Installing a solar irrigation system is a big project, but with careful planning, it can go smoothly. Here’s how to approach it:
Laying the Groundwork: Pre-installation Considerations
Before you start digging or drilling, there’s some prep work to do. You’ll need to:
-
Get any necessary permits from your local government or utility company.
-
Have your site assessed by a professional to ensure it’s suitable for solar panels.
-
Choose the right equipment for your specific needs—there’s no one-size-fits-all solution.
It’s also a good idea to talk to other farmers who have installed solar irrigation systems. They can offer valuable insights and advice that can save you time and money.
From Panels to Pumps: The Installation Process
When you’re ready to install, you’ll typically follow these steps:
-
Install the solar panels, making sure they’re securely anchored and correctly oriented.
-
Set up the pump and connect it to the panels.
-
Install any necessary inverters and batteries.
-
Test the system thoroughly to make sure everything is working as it should.
Depending on the size and complexity of your system, you might be able to handle some of these steps yourself. However, for most farmers, hiring a professional installer is the safest bet. They can ensure that your system is set up correctly and efficiently, so you can start reaping the benefits of solar power right away.
And remember, even after installation, it’s important to monitor your system’s performance. This will help you catch any issues early and keep your solar irrigation system operating at peak efficiency.
Stay tuned for the final part of this guide, where we’ll discuss how to keep your system up to date and handle any necessary upgrades or expansions.
Staying Current: Upgrading and Expanding Your Solar Irrigation System
As your farm grows, so too might your irrigation needs. Fortunately, solar irrigation systems are scalable. You can add more panels or upgrade components as necessary to increase capacity. Keeping an eye on advancements in solar technology is also wise, as newer, more efficient panels could boost your system’s performance.
When considering upgrades or expansions, it’s important to:
-
Assess the performance of your current system and identify any bottlenecks or inefficiencies.
-
Determine the increased energy requirements based on your expanded irrigation needs.
-
Consult with a solar energy expert to plan the most effective upgrade path.
And remember, an upgrade doesn’t necessarily mean a complete overhaul. Sometimes, simply adding a few more panels or updating your inverter can make a significant difference.
Power Upgrades: When and How to Expand Your Solar Array
Timing is everything when it comes to upgrades. Monitor your system’s output and your farm’s energy consumption regularly. If you notice your energy needs are consistently outpacing production, it’s time to consider expanding your solar array. This might involve adding more panels, or it could be as simple as upgrading to newer, more efficient models.
Always consult with a professional before making changes. They can help you understand the implications of an upgrade and ensure that it’s compatible with your existing system.
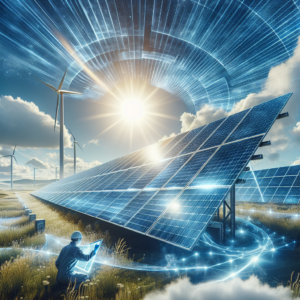
Next-gen Solar: Integrating Advanced Technologies
As solar technology evolves, so do the opportunities to improve your irrigation system. Bifacial solar panels, which capture sunlight on both sides, or solar tracking systems that follow the sun’s movement, can offer significant efficiency gains. Keep an eye on these advancements and weigh the potential benefits against the investment required.
Frequently Asked Questions (FAQ)
Let’s address some common questions you might have about solar irrigation systems. These answers should help clarify any lingering doubts and ensure you’re fully informed as you consider making the switch to solar-powered irrigation.
How Do Solar Irrigation Systems Impact Water Usage?
Solar irrigation systems can actually help reduce water usage. By being more energy-efficient, they allow for better control and precision in watering, which means less waste. Additionally, some solar irrigation systems can be paired with smart controllers that adjust watering based on weather conditions and soil moisture levels, further conserving water.
Can Solar Panels Withstand Extreme Weather Conditions?
Yes, most solar panels are built to endure harsh weather, including high winds and hail. They’re designed with durable materials and are tested to withstand the elements. However, it’s crucial to maintain them properly and ensure they’re installed securely to maximize their resilience.
Are There Specific Solar Panels Best Suited for Irrigation?
While there’s no one-size-fits-all answer, panels with a higher efficiency rating will generally be more effective for irrigation purposes. They convert more sunlight into electricity, which is particularly beneficial if you have limited space for installation. It’s best to discuss your specific needs with a solar provider to find the most suitable option.
What Is the Average Cost of a Solar-Powered Irrigation System?
The cost can vary widely based on the size of your system and specific needs. However, for a small to medium-sized farm, you might expect to invest anywhere from $5,000 to $10,000 for a complete solar irrigation system, including panels, a pump, batteries, and installation. Keep in mind that incentives and rebates can significantly reduce this cost.
How Often Will I Need to Maintain and Replace Components?
With proper care, solar panels can last 25 years or more, and other system components like inverters and batteries will typically need replacement every 5 to 10 years. Regular maintenance, such as cleaning panels and checking connections, should be performed several times a year to ensure optimal performance.
Conclusion: Are Solar Panels for an Irrigation System a Good Investment for a Farm?
In conclusion, solar panels can be an excellent investment for your farm’s irrigation system. They offer a sustainable, cost-effective solution that not only reduces your energy bills but also supports environmental stewardship. By understanding your energy needs, choosing the right equipment, and maintaining your system, you can ensure a reliable water supply for your crops for years to come.