

Key Takeaways
- South-facing orientation maximizes sunlight exposure for farm solar panels, increasing energy production by up to 30% compared to other directions.
- Ground-mounted systems offer easier maintenance and optimal positioning for farms, while roof installations save valuable land space for agricultural production.
- Avoiding shade from trees, buildings, and equipment is critical—even partial shading can reduce panel efficiency by up to 25%.
- Seasonal tilt adjustments of 10-15 degrees between summer and winter can boost annual energy harvest by 5-8% for fixed-mount systems.
- GrowingSolarMist provides specialized consulting for farmers looking to optimize their solar installations while maintaining productive agricultural operations.
Farm solar panel installation isn’t just about slapping panels on a barn roof. It’s about strategic placement that maximizes energy production while working harmoniously with your agricultural operations. The right installation approach can mean the difference between a system that pays for itself in 5 years versus 10 years or more.
At GrowingSolarMist, we’ve helped hundreds of farmers transform their energy consumption through properly positioned solar installations. What we’ve learned is that farm-specific considerations matter tremendously when determining optimal panel placement—factors that urban or residential installers often overlook.
Finding the Perfect Spot: Solar Panel Placement Essentials for Farmers
The ideal location for solar panels on your farm depends on several crucial factors. First, you need unobstructed sun exposure during peak hours (9am-3pm), which often means choosing elevated or open areas away from tall structures and trees. Second, proximity to your main electrical connections reduces power loss and installation costs. Third, consider accessibility for maintenance—panels that are difficult to reach become difficult to clean and inspect, reducing their long-term efficiency.
When evaluating potential locations, use a solar pathfinder tool to track shading patterns throughout the day and across seasons. This inexpensive device can save you thousands by preventing poor placement decisions. Remember that what seems like a minor shadow in summer might become a major obstruction in winter when the sun sits lower in the sky.

South-Facing Orientation: The Golden Rule for Farm Solar Panels
In the northern hemisphere, south-facing solar panels capture the most sunlight throughout the year. This fundamental principle remains the cornerstone of efficient solar design for agricultural installations. While east and west orientations can work (capturing morning and afternoon sun respectively), they typically produce 15-20% less energy annually than optimally positioned south-facing arrays.
For farmers with limited south-facing options, don’t despair. Modern high-efficiency panels can still generate significant power with less-than-ideal orientation. When south-facing installation isn’t possible, consider splitting your array between east and west faces to create a more balanced daily production curve that might better match your farm’s energy consumption patterns.
Optimal Tilt Angles for Different Farm Locations
The ideal tilt angle for your solar panels typically corresponds to your farm’s latitude. For instance, if your farm is located at 35° latitude, your panels should be tilted at approximately 35° for optimal year-round performance. However, this is just a starting point. Local weather patterns and seasonal energy needs may justify adjustments to this rule. For more insights, consider exploring the solar panel battery technology for agriculture to enhance your energy solutions.
Farms in northern regions often benefit from steeper tilts (latitude plus 10-15°) to maximize winter production when the sun is lower on the horizon. Conversely, southern farms may perform better with slightly flatter installations (latitude minus 5-10°) to optimize for longer summer days and higher sun angles. These adjustments can increase annual energy harvest by 3-5% compared to a standard latitude tilt.
Consider your farm’s unique energy consumption profile when determining tilt angle. Dairy operations with consistent year-round electricity needs might prioritize balanced annual production, while seasonal operations like grain drying might benefit from a tilt optimized for harvest-time energy generation.
Seasonal Adjustment Strategies to Maximize Energy Production
Farmers serious about optimizing solar production should consider seasonal tilt adjustments. By steepening panel angles in winter (latitude plus 15°) and flattening them in summer (latitude minus 15°), you can increase annual energy harvest by 5-8% compared to fixed systems. Most mounting systems allow for manual adjustments 2-4 times annually, requiring about an hour of labor each time for a typical farm-scale installation.

Avoid These Common Solar Placement Mistakes on Your Farm
Even the highest quality solar panels will underperform if poorly positioned. The most frequent mistake we see is underestimating shade impact from seemingly distant trees or structures. Remember that a shadow cast at 4pm in December might not be apparent during your summer site assessment. Using solar design software that simulates seasonal sun paths can prevent costly placement errors.
Another common pitfall is installing panels too close to dusty farm operations. Grain handling, dirt roads, and field work can coat nearby panels with performance-reducing dust. Position arrays at least 100 feet from these activities or plan for more frequent cleaning. Some farmers have reported 15-20% efficiency drops from dust accumulation in as little as two months near high-traffic farm areas. For more information on optimizing solar panel placement, consider exploring solar panel battery technology for agriculture.
Shade Problems That Cripple Solar Performance
Shade is the arch-enemy of solar panel efficiency. Unlike a lightbulb that dims proportionally when receiving less power, solar panels experience disproportionate output drops when partially shaded. Modern panels with bypass diodes help mitigate this issue, but even small shadows can reduce total system output by 25% or more. This happens because shaded cells not only stop producing electricity but can actually consume electricity produced by unshaded cells.
When evaluating potential installation sites, consider everything that might cast shadows—not just obvious obstructions. Silos, grain legs, weather vanes, antennas, and even temporary equipment like parked tractors or stacked hay bales can create problematic shading. Remember that shadows lengthen dramatically in winter months when the sun sits lower in the sky, creating shade problems that weren’t apparent during summer assessments.
For unavoidable partial shading situations, consider microinverter or power optimizer technology that allows each panel to operate independently. This can salvage 50-75% of the energy that would otherwise be lost in a string inverter system when partial shading occurs.
Structural Issues That Compromise Safety and Efficiency
Farm buildings weren’t always constructed with solar arrays in mind. Before mounting panels on existing structures, have a structural engineer verify the roof can handle both the weight of the array (typically 3-5 pounds per square foot) and the uplift forces created during high winds. We’ve seen panels act like sails in strong winds, creating enough lift to damage improperly reinforced farm structures. For those considering solar solutions, exploring solar panel battery technology for agriculture can also enhance efficiency and safety.
For ground-mounted systems, soil composition and drainage patterns matter tremendously. Installations in areas with seasonal flooding or poor drainage can suffer from foundation shifting, potentially causing misalignment and reduced efficiency over time. Frost heave in northern climates presents similar challenges, necessitating deeper foundations than might be required in temperate regions.
Distance From Electrical Infrastructure: Why It Matters
The ideal solar installation location should be reasonably close to your farm’s electrical service entrance or primary distribution panel. Every 100 feet of additional wiring distance typically adds $1,000-$2,000 to installation costs and introduces voltage drop issues that can reduce system efficiency. For remote installations more than 500 feet from existing electrical infrastructure, you’ll need to factor in additional costs for trenching, conduit, and potentially larger gauge wire to minimize power losses. For more information on solar-powered solutions for farms, explore solar-powered irrigation systems for farmers.
If your optimal solar location is far from existing electrical infrastructure, consider whether that location offers enough additional production value to offset the increased installation costs. Sometimes a slightly less optimal location closer to existing electrical systems delivers better overall financial returns despite marginally lower energy production.

Ground-Mounted vs. Roof-Mounted: Which Works Best for Farms?
The decision between ground-mounted and roof-mounted systems often comes down to your farm’s specific needs and available space. Ground-mounted arrays offer optimal orientation, better cooling (which improves efficiency), and easier maintenance access. However, they consume land that might otherwise be used for crops or grazing. Most ground-mounted systems require approximately 100-150 square feet per kilowatt of capacity, depending on panel efficiency and row spacing.
Roof-mounted systems preserve valuable land for agricultural use and typically benefit from simplified permitting processes. They also generally cost 10-15% less to install than equivalent ground-mounted systems since they require less structural support and no land clearing. The downside is that roof orientation and pitch are fixed, potentially limiting optimal positioning, and access for maintenance is more challenging, especially on taller farm structures. For farmers considering solar options, exploring solar-powered irrigation systems can offer additional benefits.
Pros and Cons of Ground-Mounted Solar Arrays
Ground-mounted solar installations offer unmatched flexibility in positioning and design. You can orient panels precisely toward true south and set the exact tilt angle for maximum production regardless of existing structures. Maintenance access is straightforward, allowing for easier cleaning, snow removal, and component replacement when needed. Ground systems also benefit from better airflow around panels, keeping temperatures lower and improving efficiency by 3-5% compared to roof-mounted equivalents, especially during hot summer months.
However, ground-mounted systems require more substantial foundations and structural components, increasing costs by 10-20% compared to roof installations. They also consume land that might otherwise generate agricultural income. Some farmers mitigate this by placing ground-mounted arrays on marginal land unsuitable for crops, in drainage ditches, or integrating them with grazing operations where animals can utilize the shaded areas beneath panels.
Innovative approaches like agrivoltaics—growing shade-tolerant crops beneath elevated solar arrays—can help maintain land productivity while generating power. Research shows certain crops like lettuce, spinach, and some berries can thrive in the dappled light beneath properly spaced solar panels, potentially increasing overall land productivity compared to either solar or agriculture alone.
When Barn or Building Roofs Make Sense for Solar Installation
Barn and outbuilding roofs offer excellent solar installation opportunities when they face south or southwest and have minimal obstructions. The ideal roof has a pitch between 20-40 degrees, is less than 10 years old, and constructed of metal or asphalt shingles. Equipment barns often provide large, uninterrupted roof spaces perfect for efficient array layouts without working around vents or chimneys that complicate residential installations.
Before committing to a roof installation, conduct a thorough structural assessment. Many older farm buildings weren’t designed with the additional 3-5 pounds per square foot that solar panels add. Retrofitting support structures typically costs $2-4 per square foot but provides peace of mind and protects your investment. Metal roofs are particularly advantageous as they allow for non-penetrating clamp mounting systems that maintain roof integrity while reducing installation labor. For farmers interested in using solar power beyond rooftops, exploring solar-powered irrigation systems can be beneficial.
For dairy operations with constant cooling demands, milk house roofs often provide ideal locations that minimize the distance between energy production and consumption. This proximity reduces transmission losses and simplifies system design while placing panels directly above one of your farm’s largest energy consumers.
Space Requirements and Land Use Considerations
When planning your solar installation, accurately calculating space requirements prevents unpleasant surprises. A typical 100kW ground-mounted system requires approximately 10,000-15,000 square feet (about 1/4 to 1/3 acre), depending on panel efficiency and row spacing. Roof installations typically need 7,000-9,000 square feet of usable space for the same capacity due to tighter spacing. For more information on solar-powered systems, explore the top options and benefits of solar-powered irrigation systems.
Consider creative land use strategies that maintain agricultural productivity while generating solar power. Elevated mounting systems with 8-12 foot clearances allow for equipment passage underneath and even continued grazing for small livestock like sheep, which can manage vegetation naturally. Some innovative farmers have installed solar arrays over irrigation ponds, eliminating land use conflicts while reducing water evaporation—a dual benefit.
Here’s a detailed comparison table analyzing Ground-Mounted vs. Roof-Mounted Solar Panels to help determine which option works best for farms:
|
Feature |
Ground-Mounted Solar Panels |
Roof-Mounted Solar Panels |
|---|---|---|
|
Installation Cost |
Higher upfront cost (about 10–20% more) due to extra materials, trenching, and permitting. 5, 7, 9 | |
|
Land Use |
Requires open land; takes up valuable real estate. 1, 5, 6, 7 | |
|
Energy Production |
Can be oriented for maximum sunlight, often producing more energy. 1, 4, 5,7, 8 | |
|
System Size |
Easier to scale up for large farms; no roof size limitations. 5, 7 | |
|
Maintenance & Access |
Easier to clean, inspect, and repair; no need to remove for roof work.1, 3, 6 | |
|
Aesthetics & Security | ||
|
Permitting |
May face stricter or more complex permitting, especially in visible locations. 7 |
Permitting usually simpler, but depends on roof condition. 7 |
|
Panel Options |
Can use larger or more advanced panels (e.g., bifacial, tracking). 3, 5, 8 |
Typically limited to standard panels. 8 |
|
Ideal For |
Farms with ample open land, high energy needs, and desire for maximum output. 3, 5, 7, 8 | |
|
Drawbacks |
Limited expansion, roof penetrations, harder maintenance. 2, 3, 6, 9 |
Key Takeaways
- Ground-mounted systems are best for farms with plenty of space and a need for large, high-output systems. They maximize energy production through optimal orientation and are easier to maintain, but come with higher upfront costs and require dedicated land. 1, 3, 4, 5, 7,8
- Roof-mounted systems are more cost-effective, preserve farmland, and are ideal if the roof is suitable and energy needs are moderate. However, they are limited by roof size, orientation, and may be harder to maintain. 2,5, 7, 9
- Farms should consider available space, energy needs, budget, and long-term plans when choosing between the two options. 5, 6, 7, 8
Mounting Systems That Stand Up to Farm Conditions
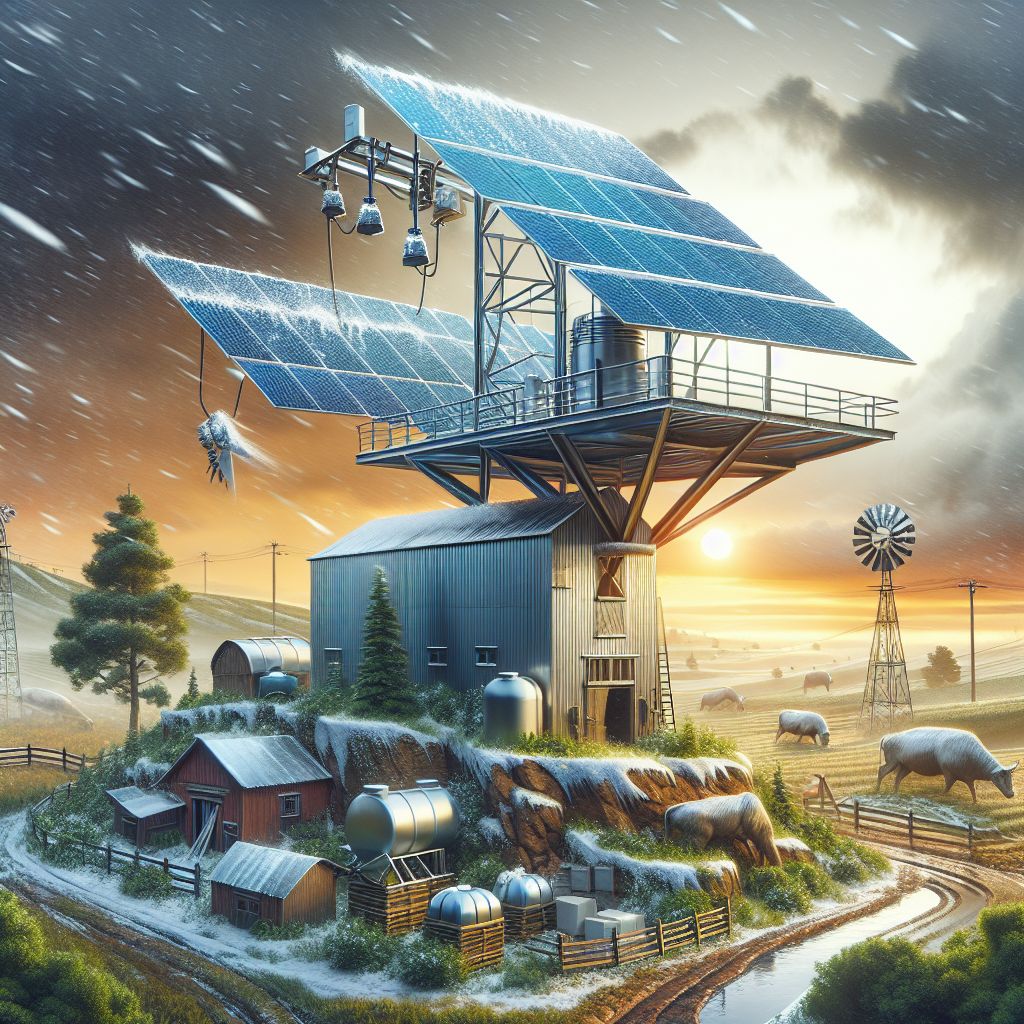
Farm environments present unique challenges for solar mounting systems, from heavy snow loads to wind exposure that exceeds residential areas. Choose mounting hardware rated for at least 120 mph winds and snow loads appropriate for your region. Galvanized steel or marine-grade aluminum components offer the best long-term corrosion resistance in agricultural environments where ammonia and other corrosive elements may be present. For more detailed guidance, consider this guide on installing solar panels on your farm.
Fixed vs. Tracking Systems: Which Delivers Better ROI?
Single-axis tracking systems that follow the sun’s east-to-west daily movement can increase energy production by 15-25% compared to fixed systems. This sounds impressive, but the added complexity, maintenance requirements, and 30-40% higher installation costs don’t always justify the gain. Tracking systems contain moving parts that eventually require maintenance, particularly in dusty farm environments.
For most farms, fixed ground-mounted systems tilted at latitude plus or minus 10-15 degrees (depending on seasonal energy needs) provide the best balance of production, reliability, and return on investment. If you’re determined to maximize production from limited space, consider adjustable manual tilt mounts that can be repositioned seasonally rather than full automatic tracking. This approach captures 70-80% of the benefits of tracking with none of the mechanical complexity.
Weather-Resistant Designs for Rural Environments
Rural installations face weather extremes that urban systems rarely encounter. Specify mounting systems with enhanced wind resistance features like reinforced rails, additional attachment points, and wind deflectors for ground-mounted systems. These features typically add only 5-7% to mounting costs while significantly extending system lifespan in exposed farm locations.
Snow shedding becomes critical for winter performance in northern regions. For ground-mounted systems, specify a minimum 30-degree tilt in snowy regions to facilitate natural snow shedding. Install panels in landscape orientation (wider than tall) with adequate clearance at the bottom edge to prevent snow accumulation that blocks lower cells. Some farmers in heavy snow regions have reported 30% higher winter production after switching from portrait to landscape orientation with proper clearance.
Foundation Options for Different Soil Types
The soil composition on your farm determines the most appropriate foundation system for ground-mounted arrays. Sandy, well-draining soils typically work well with driven piles—the fastest and most economical foundation method. Clay-heavy soils might require concrete ballast blocks or helical piles to prevent seasonal movement. Rocky soils often necessitate pre-drilling or ground screws, adding to installation costs but providing superior stability.
Always conduct soil testing before finalizing foundation designs, especially for larger systems. A geotechnical survey for a typical farm installation costs $1,500-$2,500 but can prevent foundation failures that might require complete system reinstallation. Some installers skip this step to reduce initial quotes, but experienced agricultural solar providers recognize its importance in ensuring long-term stability.
Financing Your Farm Solar Project: Location Matters
The physical location of your solar installation affects not just energy production but also financial incentives available to support your project. Strategic placement decisions can maximize both energy generation and access to grants, tax benefits, and accelerated depreciation schedules. Some incentive programs even offer additional benefits for installations that maintain agricultural use of the land or incorporate specific environmental features.
USDA REAP Grants and Location Eligibility
The USDA’s Rural Energy for America Program (REAP) provides grants covering up to 25% of project costs and loan guarantees up to 75% for renewable energy systems on agricultural operations. Your farm’s location affects eligibility, with different funding pools available for projects in rural areas versus those in more developed regions. Farms in designated rural areas typically face less competition for funding, increasing approval chances.
Here’s a table summarizing the key aspects of the USDA’s Rural Energy for America Program (REAP) and how farm location affects funding eligibility and competition:
|
Feature |
Grants |
Loan Guarantees |
Combined Grant & Loan |
Location Impact & Eligibility |
|---|---|---|---|---|
|
Maximum Coverage |
Up to 50% of project costs (previously 25%) |
Up to 75% of project costs |
Combined funding up to 75% |
Farms in rural areas (pop. <50,000) face less competition for funding, increasing approval chances. 4, 6, 11 |
|
Who Qualifies |
Agricultural producers (rural or urban, if project is on ag site); rural small businesses |
Same as grants |
Same as grants |
Small businesses must be in rural areas; farms do not have geographic restrictions but benefit from rural status. 4, 6 |
|
Eligible Projects |
Renewable energy systems (solar, wind, biomass, geothermal, hydro, etc.), energy efficiency improvements |
Same as grants |
Same as grants |
Must be commercially available tech; no research/development projects. 4, 8 |
|
Funding Pools |
Separate pools for rural and more developed areas |
Same as grants |
Same as grants |
Rural projects typically have less competition, making approval more likely. 4, 6 |
|
Application Process |
Standardized; no need to choose funding source |
Standardized |
Standardized |
Use USDA eligibility map to confirm if your location qualifies as rural. 4, 6 |
|
Other Notes |
Grants up to $1 million for renewables; minimum project cost applies |
Loans up to $25 million |
Example: $100k project = $50k grant + $25k loan + $25k applicant |
Combining REAP with tax credits (e.g., solar ITC) can further reduce costs. 10, 11 |
This structure helps agricultural producers and rural small businesses maximize their chances of securing USDA REAP funding for renewable energy and energy efficiency projects.
Projects that demonstrate innovative placement strategies that maintain agricultural productivity while generating renewable energy often receive priority scoring in the REAP evaluation process. For example, elevated systems that allow for continued grazing or agrivoltaic designs that integrate crop production can earn additional points in the selection process, potentially increasing your grant award.
When preparing your REAP application, include detailed site plans showing how your chosen locations maximize both energy production and continued agricultural use. Documentation showing you’ve selected optimal placement based on professional solar site assessment tools rather than convenience can strengthen your application considerably.
Tax Incentives Based on Installation Type
The federal Investment Tax Credit (ITC) applies to all qualifying solar installations regardless of location, but state and local incentives often vary based on installation type and placement. Ground-mounted systems that incorporate pollinator-friendly vegetation or maintain agricultural use may qualify for additional state-level incentives in many regions focused on environmental conservation alongside renewable energy.
Property tax implications also vary significantly based on installation type. Roof-mounted systems typically don’t trigger property reassessments, while ground-mounted arrays might be considered new improvements subject to additional property taxes. However, many agricultural states have enacted specific exemptions for farm solar installations to prevent property tax increases, particularly when the systems primarily serve on-farm energy needs rather than large-scale export to the grid.
Placement decisions should consider these financial factors alongside technical solar production considerations. Sometimes a slightly less optimal location from a pure solar production standpoint might deliver better overall financial returns when tax and incentive factors are fully considered. Consult with an agricultural tax specialist familiar with renewable energy incentives before finalizing installation locations.
Take These Steps Today to Determine Your Ideal Solar Placement
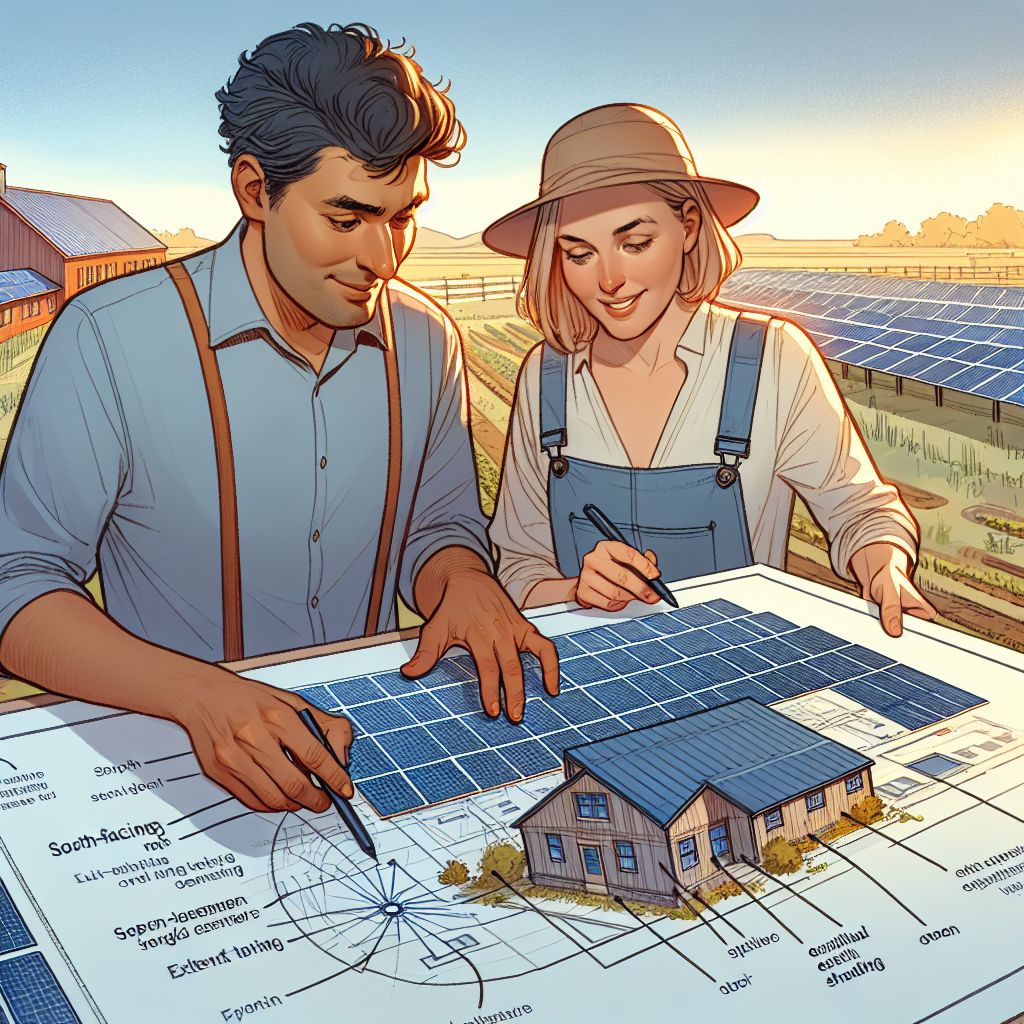
Begin your solar placement journey with a comprehensive site assessment that evaluates multiple potential locations across your property. Start by identifying south-facing roof areas and open ground spaces with minimal shading from 9am to 3pm throughout the year. Document your farm’s electrical load centers and existing infrastructure to determine optimal proximity for new solar installations. Consider both current land use and future expansion plans that might affect ideal panel placement. Finally, reach out to multiple solar installers with specific agricultural experience who understand the unique challenges and opportunities of farm environments – like our team at GrowingSolarMist who specialize in agricultural solar optimization and can help you navigate both technical and financial considerations for your specific farm needs.
Frequently Asked Questions (FAQ)
As you plan your farm solar installation, you’ll likely have questions about the practical aspects of panel placement and system design. These frequently asked questions address the most common concerns we hear from farmers considering solar energy systems.
How much farmland is typically needed for a 100kW solar array?
A 100kW ground-mounted solar array typically requires between 10,000-15,000 square feet (approximately 1/4 to 1/3 acre) depending on panel efficiency, row spacing, and mounting system design. Higher efficiency panels can reduce space requirements by 15-20% compared to standard models. Systems with wider row spacing for snow clearance or agricultural activities between rows may require up to 50% more land area but offer dual-use benefits.
When evaluating land requirements, consider not just the panel footprint but also access paths for maintenance, equipment clearances, and any required setbacks from property lines or structures. Most farms find that dedicating a half-acre to solar production generates enough electricity to offset a significant portion of operational energy costs while minimizing impact on productive agricultural land.
Will solar panels damage my soil or affect future farming potential?
Modern solar installations have minimal impact on soil health when properly designed. The primary soil disturbance occurs during foundation installation, which typically affects less than 5% of the total project area. Most of the land beneath and between panels remains undisturbed, and many farmers report improved soil conditions under panels due to reduced evaporation and protection from extreme weather events. For more insights on solar-powered solutions, explore solar-powered irrigation systems for farmers and their benefits.
- Panel shading creates microclimates that can reduce water requirements for certain crops and forage
- Properly designed systems allow for continued vegetation growth that prevents erosion
- The 25-30 year lifespan of solar systems provides soil rest periods that can improve organic matter
- Removal at end-of-life is straightforward with complete restoration possible
Studies from the National Renewable Energy Laboratory (NREL) have shown that land used for solar production can be returned to full agricultural productivity after system decommissioning with minimal remediation. Some farmers intentionally rotate solar and crop production as a form of long-term land management strategy, allowing soil to rebuild organic matter during solar production periods. For those interested in efficient energy solutions, exploring solar panel battery technology for agriculture can be beneficial.
To minimize soil impacts, specify mounting systems that use driven piles or helical anchors rather than concrete foundations where soil conditions permit. These foundation types disturb less soil volume and can be completely removed at end-of-life without leaving subsurface concrete that might interfere with future agricultural activities.
For ultimate soil preservation, consider elevated mounting systems with minimum clearance of 8 feet that allow for continued grazing or even equipment passage beneath panels. These systems cost 15-20% more initially but preserve nearly 100% of the land for agricultural use while generating clean energy.
Can I move my solar panels if I need to use the land differently later?
Yes, ground-mounted solar systems can be relocated, though not without cost and careful planning. Systems using driven piles or helical anchors are easiest to relocate, typically requiring 2-3 days of labor plus transportation for a 25-50kW farm system. Budget approximately 20-30% of the original installation cost for dismantling, moving, and reinstalling at a new location. To facilitate potential future relocation, consider specifying quick-connect wiring systems and modular mounting structures during initial installation, which can reduce relocation costs by 30-40% compared to standard installations.
Do solar panels work well in areas with heavy snow or frequent hail?
Modern solar panels are designed to withstand significant snow loads and moderate hail impact. Most quality panels are tested to withstand 1-inch hail at terminal velocity and snow loads of 50-75 pounds per square foot. In heavy snow regions, the key to good performance is proper mounting angle (minimum 30 degrees) and adequate clearance at the bottom edge to allow snow to slide clear rather than accumulate.
For exceptional hail regions, especially in the central plains, consider specifying hail-resistant panels with reinforced frames and thicker front glass. These specialized panels typically cost 10-15% more but offer significantly improved durability in severe weather. Some insurance policies offer premium discounts for hail-resistant solar equipment that can offset the higher initial cost over time.
Should I place solar panels near farm equipment that creates dust?
Ideally, solar panels should be placed at least 100 feet from regularly dusty operations such as grain handling, feed processing, or frequently used dirt roads. Dust accumulation can reduce panel efficiency by 15-25% within weeks in particularly dusty environments. When dusty locations can’t be avoided, consider specifying panels with anti-soiling glass coatings that reduce dust adhesion and improve natural cleaning during rainfall.
For installations near unavoidably dusty operations, incorporate regular cleaning into your maintenance schedule. Most farm systems benefit from quarterly cleaning, but those near dusty operations may require monthly attention during peak activity seasons. Water-efficient cleaning systems using deionized water and soft brushes can restore nearly 100% of rated capacity with minimal water usage. For further insights on maintaining efficiency, explore solar irrigation system components and their functions.
- Position arrays upwind of dust-generating activities when possible
- Install windbreak vegetation between dust sources and solar arrays
- Consider automated cleaning systems for large installations in extremely dusty areas
- Schedule panel cleaning after major field operations that generate significant dust
Some farmers have reported success with strategic panel placement that utilizes natural wind patterns to minimize dust accumulation. Studying prevailing winds and dust movement patterns across your property can inform optimal placement decisions that minimize maintenance requirements while maximizing energy production.
When evaluating potential installation sites, bring in a solar professional with agricultural experience who can help assess dust exposure risks and recommend appropriate mitigation strategies. The right placement and equipment specifications can significantly reduce maintenance requirements while ensuring consistent energy production throughout the year.
Remember that proper solar panel placement is a critical investment in your farm’s energy future. Taking time to thoroughly evaluate your options and working with experienced agricultural solar specialists will ensure you maximize both energy production and financial returns while maintaining the productivity of your valuable farmland.

Leave a Reply