

Key Takeaways
- Wildlife, weather, and debris are the three biggest threats to farm solar panels — and each one requires a different protection strategy.
- Rodents and birds cause more hidden damage than most farmers realize, from chewed wiring to nest-related shading that silently drains energy output.
- Repair costs per panel range from $200 to $500 for basic fixes, but system-wide damage from a single wildlife or storm event can reach thousands of dollars.
- There are proven, affordable methods to stop damage before it starts — including critter guards, wire conduits, and vegetation control that work together as a layered defense.
- Keep reading to find out which seasonal maintenance checks could be the difference between a thriving solar system and a costly emergency repair call.
Solar Panels Take a Beating on Farms — Here Is What You Need to Know
Most farmers install solar panels expecting decades of passive energy savings — and then reality sets in fast the first time a squirrel chews through a wire bundle or a hailstorm leaves micro-cracks across half the array. Farm environments are uniquely hostile to solar equipment, combining wildlife activity, heavy weather exposure, and constant airborne debris from tillage and harvesting operations.
Unlike rooftop residential systems, farm-scale solar arrays are typically ground-mounted or barn-mounted, which puts them directly in the path of animals, equipment, and the elements. Protecting solar panels from birds and pests is not a one-time fix — it is an ongoing management strategy that pays for itself in avoided repairs. Understanding the specific threats your system faces is the first step toward building a protection plan that actually holds up over time.
The Most Common Causes of Solar Panel Damage on Farms
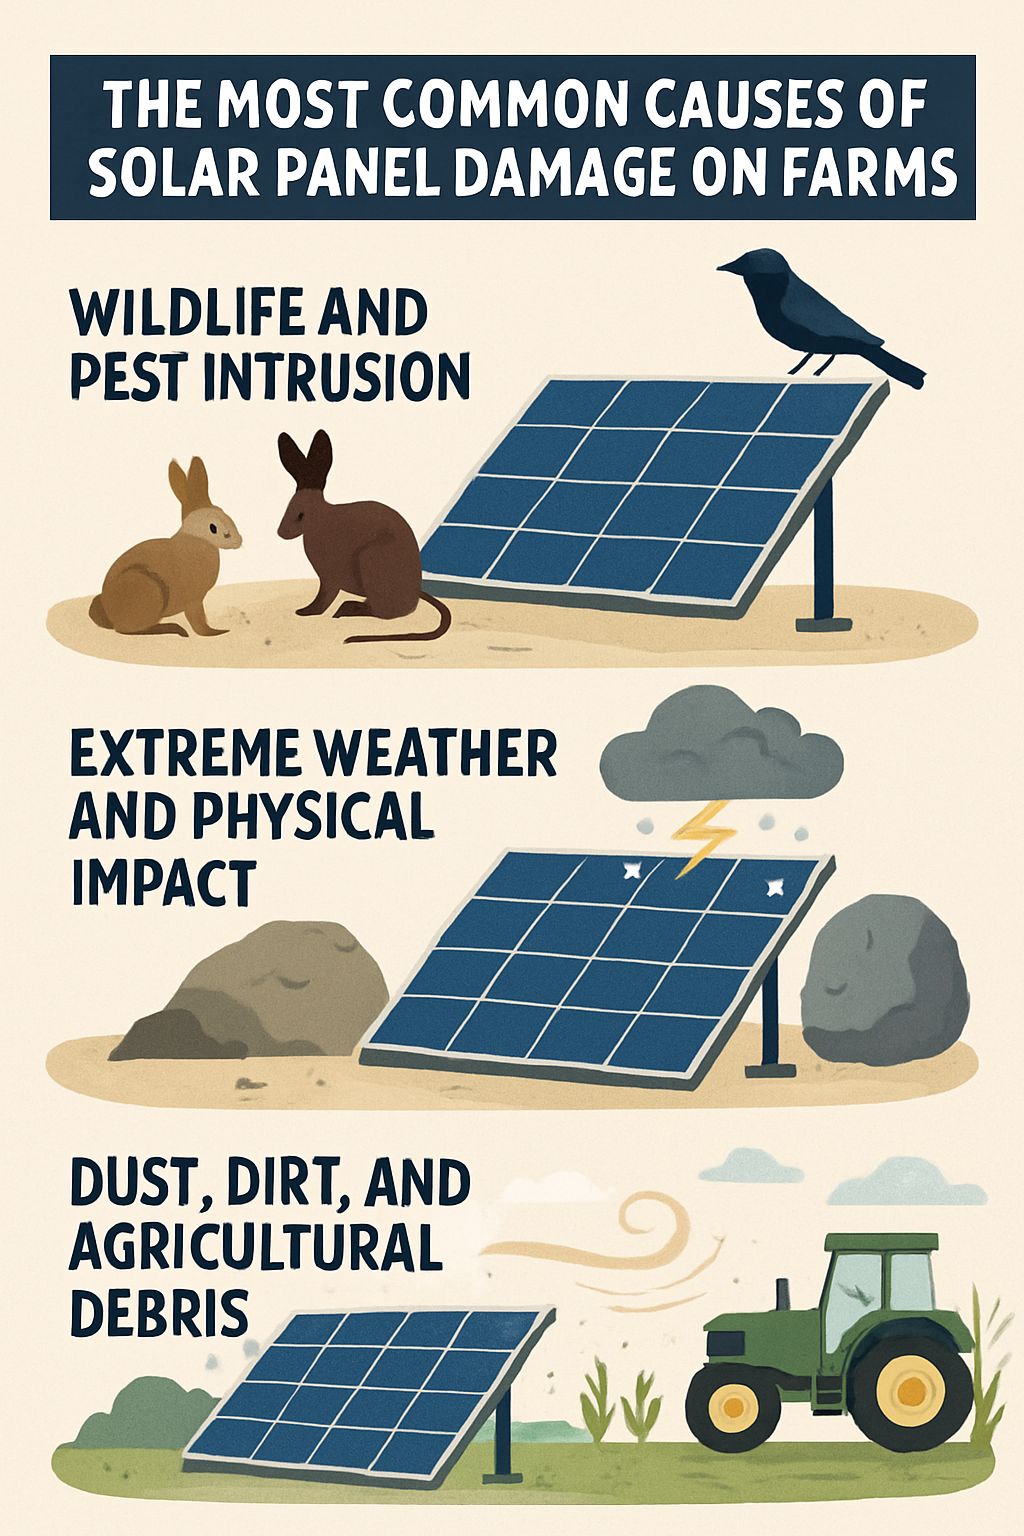
Solar panels on farms face a combination of threats that residential or commercial installations simply do not deal with at the same scale. The damage usually comes from three directions: animals looking for shelter, weather events that hit harder in open rural land, and the constant accumulation of dust and organic debris that farms generate year-round.
Wildlife and Pest Intrusion
Birds and rodents are the most frequent culprits when it comes to solar panel damage on farms. Birds — particularly starlings, sparrows, and pigeons — nest under panel frames where warmth and shelter are easy to find. Those nests block airflow, trap moisture against the panel surface, and create shading that directly cuts energy output. Bird droppings compound the problem by corroding panel coatings over time.
Rodents are arguably the more dangerous threat. Squirrels, mice, and rats are drawn to the warm underside of panels and the insulated wiring that runs through the array. A single squirrel can chew through critical cable insulation in a matter of hours, creating short circuits or fire hazards that take down the entire system. Larger animals — deer, cattle, and other livestock — add another layer of risk by rubbing against mounting hardware or physically stepping on low-mounted panels during grazing.
Real-World Cost: Wildlife damage to solar panels costs farmers an average of $200–$500 per panel for basic repairs. When wiring damage cascades into inverter or controller failures, total system repair costs can reach into the thousands of dollars — for a single incident.
Extreme Weather and Physical Impact
Open farmland offers little wind protection, which means solar arrays take the full force of storms, hail, and high-speed debris. Hailstones as small as one inch in diameter can cause micro-fractures in panel glass that are invisible to the naked eye but degrade output efficiency over months. Larger hail causes visible cracking that requires immediate panel replacement.
High winds are a mounting and structural issue as much as a panel issue. Improperly anchored frames can torque under wind load, loosening connections and stressing panel edges. Flying debris — branches, gravel, equipment parts — hits panels at high velocity during storm events. In tornado-prone or high-wind agricultural regions, the physical impact risk to solar arrays is a year-round concern, not just a seasonal one. For farmers looking to protect their investments, understanding solar panel backup solutions is crucial.
Dust, Dirt, and Agricultural Debris
Farm operations generate enormous amounts of airborne particulates. Tillage, harvesting, animal traffic, and dry soil conditions coat solar panels with a layer of dust and grime that standard rainfall does not fully clear. Studies on soiling losses in agricultural solar systems show that heavy dust accumulation can reduce panel output significantly depending on the farming activity nearby and the local climate.
Beyond simple dust, farms introduce organic debris that residential systems rarely see — hay particles, chaff, pollen, and animal waste that bind together on panel surfaces and resist weathering. This buildup creates hotspots on panel cells by creating uneven shading, which accelerates cell degradation over time. Regular cleaning and debris management are not optional maintenance tasks on a working farm — they are core parts of keeping the system producing at full capacity.
How Much Does Solar Panel Damage Actually Cost Farmers?
The true cost of solar panel damage on farms goes beyond what shows up on a single repair invoice. It includes lost production, emergency labor, and in some cases, complete system downtime during periods when energy demand on the farm is at its peak.
Repair and Replacement Costs Per Panel
Basic repairs — resealing panel frames, cleaning corroded connectors, or replacing cracked glass — typically run between $200 and $500 per panel. Full panel replacements push that cost higher depending on the panel model and labor involved. When rodent damage reaches wiring harnesses, inverters, or charge controllers, repair costs escalate quickly because those components carry their own price tags separate from the panel units themselves.
Lost Energy Production During Downtime
Every day a portion of a farm’s solar array is offline or underperforming is a day the farm is drawing more from the grid or running backup systems. For larger agricultural operations with significant energy loads — irrigation pumps, climate-controlled livestock housing, cold storage — even partial system outages translate directly into higher utility costs. The hidden financial damage from extended downtime often exceeds the visible repair bill.
Physical Protection Methods That Work
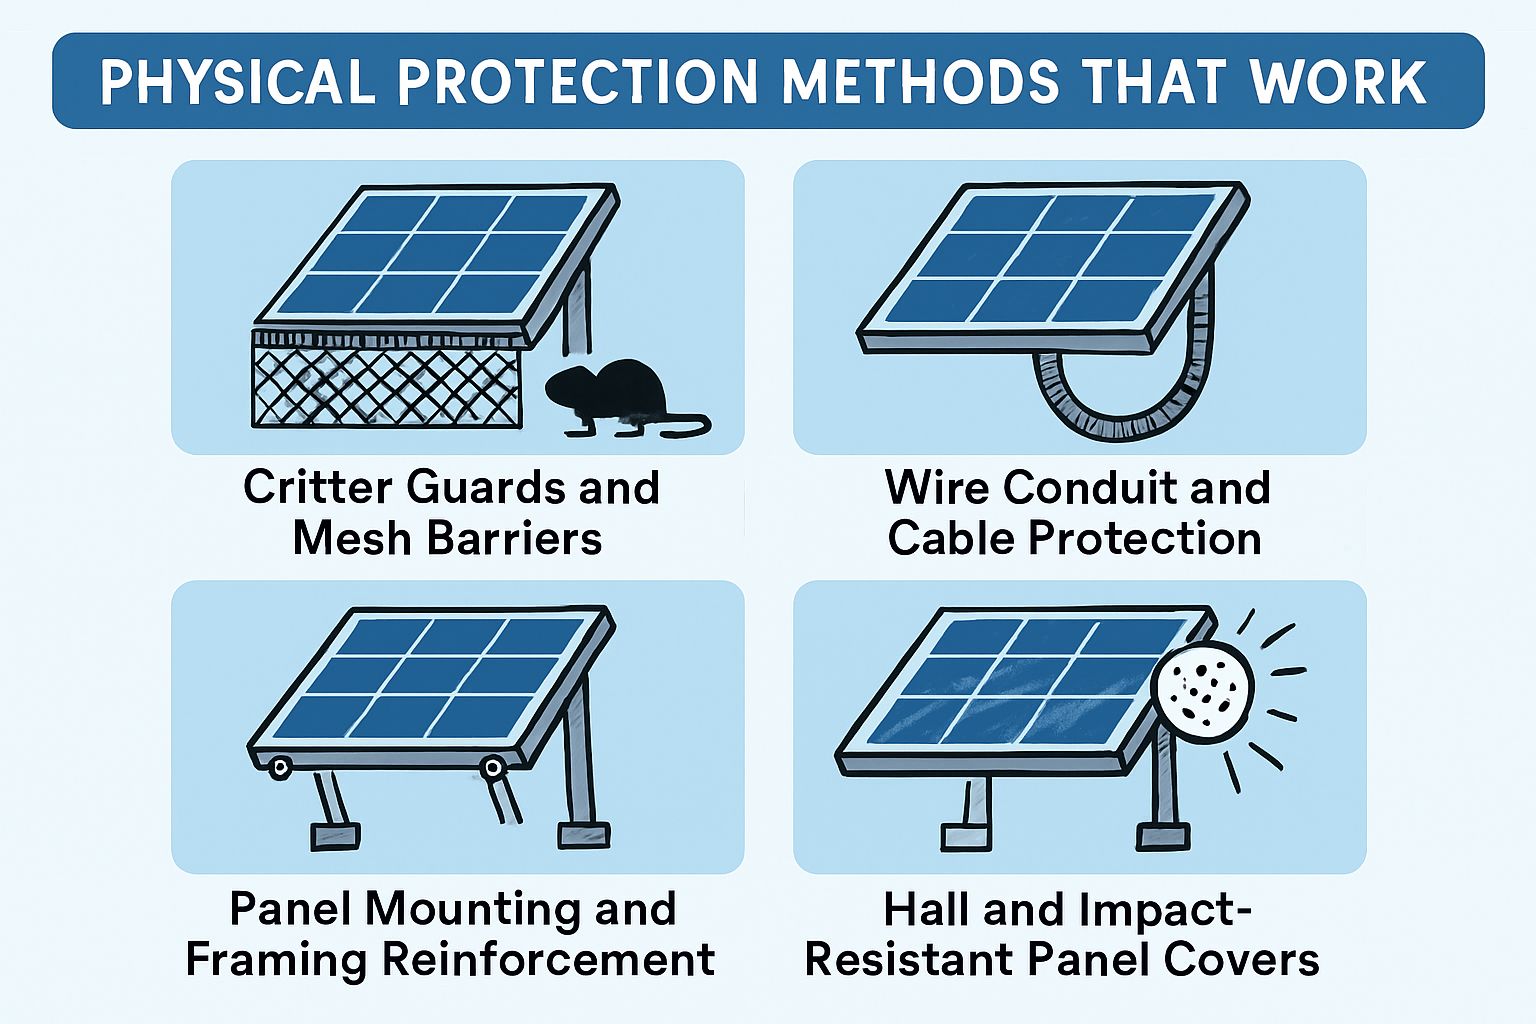
The most effective approach to protecting farm solar panels is layered physical defense — combining barriers that exclude animals, reinforced components that resist impact, and structural upgrades that hold up under farm conditions. No single solution covers every threat, but combining two or three of these methods creates a system that is genuinely hard for wildlife or weather to compromise.
1. Critter Guards and Mesh Barriers
Critter guards are purpose-built metal mesh systems that seal the gap between the bottom of the panel frame and the mounting rail, blocking the access point that birds and rodents use to nest or chew wiring underneath panels. Products like the Critter Guard Line Kit by Critter Guard are specifically designed for solar array perimeters, using galvanized steel mesh that does not degrade under UV exposure or moisture. For more tips on protecting your solar panels, check out these farmer tips.
Installation is straightforward — the mesh clips or fastens directly to existing panel frames without modifying the solar system itself. Once in place, it creates a physical exclusion zone around all under-panel space without trapping heat or blocking the airflow that panels need for thermal regulation. For farms where squirrel and bird activity is already visible, critter guards are typically the single highest-return protective investment available.
2. Wire Conduit and Cable Protection
Exposed wiring is the single most vulnerable component in any farm solar installation. Rodents do not discriminate between insulation types — they will chew through standard UV-rated cable jacketing just as readily as anything else. Running all DC and AC wiring through rigid metal conduit, specifically steel EMT (Electrical Metallic Tubing) or liquid-tight flexible metal conduit at junction points, creates a physical barrier that rodent teeth cannot penetrate. For more tips on safeguarding solar installations, check out these farmer tips.
3. Panel Mounting and Framing Reinforcement
Standard residential-grade mounting hardware is often undersized for the wind loads and physical stress that open farmland generates. Agricultural solar installations should use commercial-grade racking systems with corrosion-resistant hardware rated for high-wind zones. Torque specifications for all fasteners should be verified during installation and re-checked annually, as vibration from farm equipment operation can gradually loosen connections over a single growing season.
For farms with livestock, adding a perimeter fence around ground-mounted arrays is not optional — it is essential. Cattle and horses that rub against mounting posts will eventually loosen the structural base of the entire array. A simple T-post and wire fence set back at least six feet from the panel perimeter eliminates this risk almost entirely at minimal cost compared to the damage it prevents. For more information on safeguarding solar installations, check out these farmer tips on protecting solar panels from animals.
4. Hail and Impact-Resistant Panel Covers
For farms in hail-prone regions — particularly across the central and southern plains of the United States — polycarbonate panel covers offer an additional layer of impact protection without meaningfully reducing light transmission. These covers are engineered to absorb the kinetic energy of hailstone impact before it reaches the panel glass beneath. Some manufacturers rate their covers to withstand hailstones at impact velocities exceeding 100 mph, providing meaningful protection during severe storm events that standard panel glass alone cannot guarantee. To further enhance your farm’s resilience, consider exploring options for solar panels to power farm equipment with renewable energy.
How to Deter Birds and Rodents Without Harming Them
Lethal control methods for wildlife around solar farms are rarely practical, often regulated, and almost always unnecessary. The goal is deterrence — making the solar array an unattractive and inaccessible target without creating hazards for the animals or the farm ecosystem.
Birds and rodents are persistent, so effective deterrence requires layering multiple non-harmful methods together rather than relying on any single product or tactic. A bird spike on one edge of an array will redirect a pigeon, not eliminate it — if there is still accessible space elsewhere, the bird will find it. For more strategies on protecting solar panels, check out these farmer tips.
The most successful wildlife deterrence programs for farm solar installations combine physical exclusion with sensory deterrents, making the entire array feel hostile to wildlife without requiring ongoing manual intervention after the initial setup.
Bird Spikes and Netting Around Panel Edges
Bird spikes installed along the top edges and exposed horizontal framing of solar panels physically prevent large birds from landing and establishing nesting positions. Stainless steel spike strips — such as the Bird-X Stainless Steel Bird Spikes — are UV-stable, rust-resistant, and attach directly to panel framing without adhesives that degrade in outdoor conditions. For more information on how to protect your solar panels, consider exploring solar panel backup solutions that can enhance your farm’s resilience.
Heavy-gauge bird netting stretched across the full underside gap of a panel array takes exclusion a step further, sealing off the nesting space completely rather than just discouraging landing on top. When combined with critter guard mesh at the panel perimeter, netting creates a fully enclosed barrier around the under-panel environment that neither birds nor small mammals can penetrate.
Installation of netting requires attention to tension and anchor point placement. Netting that sags or develops gaps quickly becomes ineffective and can trap birds, which defeats the purpose entirely and may create wildlife regulation issues depending on the species involved.
For barn-mounted systems, the approach shifts slightly — interior roost points above the panels need to be addressed alongside the panel perimeter, since birds nesting in the barn structure can still drop debris and waste onto panel surfaces even when the panels themselves are inaccessible.
- Use stainless steel spikes rather than plastic on farm installations — UV exposure and temperature cycles crack plastic spike bases within one to two seasons.
- Select netting with a mesh size of 19mm or smaller to exclude sparrows and starlings, which are the most common nesting species on agricultural properties.
- Inspect netting quarterly for tears, sagging, or anchor point failures — a single gap is enough for birds to re-establish nesting access.
- Avoid using bird gel repellents on panel surfaces — they attract dust and debris, creating a secondary soiling problem that reduces panel output.
Predator Decoys and Ultrasonic Deterrents
- Owl decoys with rotating heads, such as the Dalen Gardeneer Natural Enemy Scarecrow Rotating Head Owl, create movement that triggers the flight response in smaller birds when positioned near panel arrays.
- Reflective tape and flash tape strung along panel framing creates light disruption at eye level for birds approaching the array.
- Ultrasonic deterrent units like the Bird-X Broadband PRO emit variable-frequency sounds that are distressing to birds and rodents without being audible to most livestock or humans.
- Predator urine granules distributed around the perimeter of ground-mounted arrays create an olfactory deterrent for rodents approaching from surrounding fields.
Decoys and sensory deterrents work best in rotation. Birds and rodents habituate to static deterrents within a few weeks — a stationary owl that never moves stops triggering a fear response fairly quickly. Changing decoy positions monthly and alternating ultrasonic frequency patterns prevents habituation and maintains deterrent effectiveness over the long term.
Ultrasonic devices require strategic placement to be effective around solar arrays. Units need unobstructed line-of-sight coverage across the area being protected, and farm structures, equipment, or vegetation that breaks up the sound field will create dead zones where animals quickly learn to congregate. For more information on backup power solutions for solar panels, check out the benefits of LiFePO4 batteries in farming.
One practical combination that works well for most farm-scale solar installations is a critter guard mesh perimeter, ultrasonic units mounted on the racking structure facing outward, and rotating owl decoys placed at the highest point of the array. Together, these three elements cover physical exclusion, auditory deterrence, and visual threat signals — three different sensory channels that animals use to assess safety.
No deterrent strategy is completely maintenance-free. Budget for a quarterly check of all decoy positions, device battery levels or power connections, and the physical condition of any reflective or sensory deterrent components. Ten minutes per quarter is a small investment compared to the cost of a rodent wire damage event.
Vegetation Control Around Solar Arrays
Tall grass, dense shrubs, and brush piles within and around solar arrays are rodent highways. Ground cover that reaches panel height gives squirrels and mice a concealed route directly to wiring and mounting hardware. Maintaining a clear, low-vegetation buffer of at least six feet around the full perimeter of any ground-mounted array removes the cover that makes rodent approaches easy. Gravel or crushed rock ground cover under and immediately around array perimeters is a practical and low-maintenance solution that eliminates vegetation entirely without requiring repeated mowing.
Seasonal Protection Strategies for Farm Solar Systems
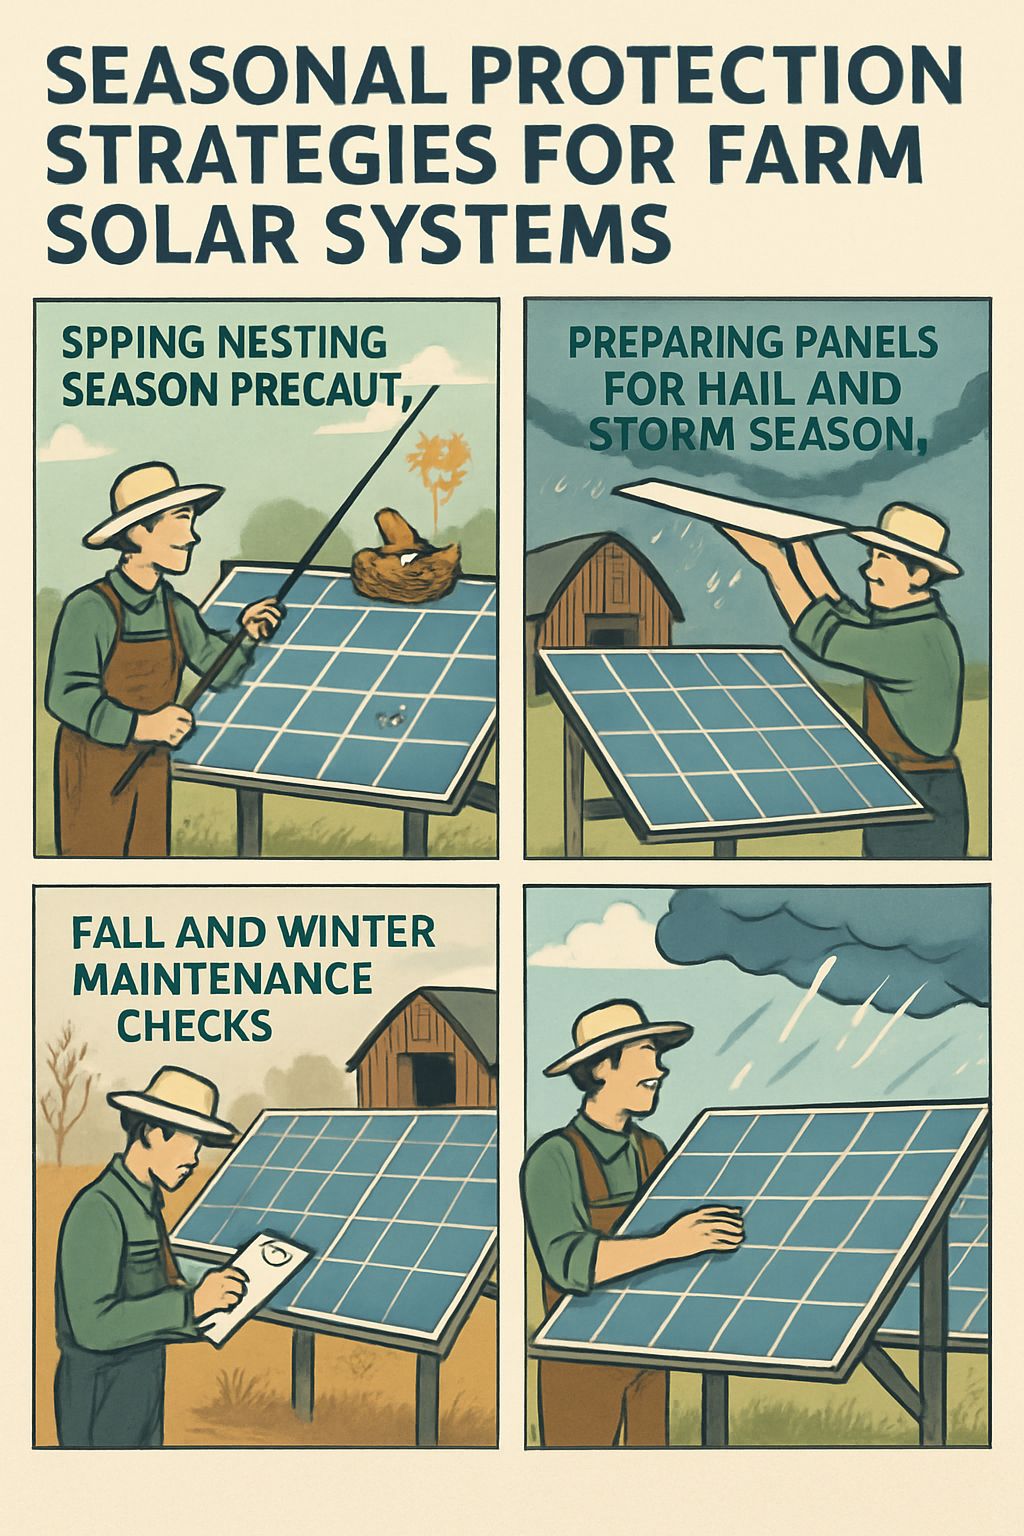
Farm solar systems face different threats at different times of year, and protection strategies need to shift accordingly. A maintenance schedule that treats every month the same will miss critical windows when damage risk spikes — and that oversight is usually what turns a preventable problem into an expensive repair.
Building a seasonal inspection and protection calendar around the known threat cycles for your region is the most cost-effective way to stay ahead of damage. Most farm solar failures are not sudden catastrophic events — they are gradual issues that get missed between inspections and then compound into larger problems.
Spring Nesting Season Precautions
Spring is the highest-risk period for bird and rodent activity around solar arrays. Nesting season drives birds to aggressively seek sheltered cavities, and the warm underside of solar panels is exactly the kind of protected microclimate they look for. Before nesting season begins — ideally in late winter — conduct a full perimeter inspection of all critter guards and netting to confirm there are no gaps that have developed over winter. Install or repair any exclusion hardware before the first warm weeks of spring, because once birds establish a nest, removal becomes more complicated and may involve local wildlife regulations depending on the species.
Preparing Panels for Hail and Storm Season
In hail-prone agricultural regions, pre-storm season preparation should include a visual inspection of all panel surfaces for existing micro-cracks or edge chipping that would make panels more vulnerable to impact damage. Any panels with visible surface damage should be flagged for replacement before storm season peaks, since compromised glass shatters under hail impact that an intact panel would survive. Verify that all mounting hardware torque specifications are met and that no racking connections have loosened over winter — wind loading during spring and summer storm events puts maximum stress on every fastener in the system.
Fall and Winter Maintenance Checks
As temperatures drop and farm activity shifts, rodents begin actively seeking warm sheltered spaces — and solar panel wiring runs are a prime target. A fall inspection focused specifically on wiring condition, conduit integrity, and any signs of rodent entry should happen before the first cold snap of the season. Look for chew marks on conduit exteriors, any displacement of critter guard mesh, and droppings or nesting material in the under-panel space.
Winter maintenance in snow-prone regions adds a structural dimension. Heavy snow accumulation on panel surfaces creates load stress on mounting frames that are engineered for wind loads, not sustained vertical weight. Most quality racking systems handle typical snow loads without issue, but wet, heavy snow events warrant a post-storm check to confirm no racking deflection or fastener pull-out has occurred. Clearing snow from panels also restores production — a fully snow-covered panel produces nothing — but only use soft brushes or foam-edged tools designed for solar panels to avoid scratching the glass surface.
Does Farm Insurance Cover Solar Panel Damage?
Farm insurance coverage for solar panels is more complicated than most farmers expect, and the answer depends heavily on how the system was disclosed at the time the policy was written. Solar arrays are not automatically covered under a standard farm property policy — they typically need to be scheduled as a separate equipment item with an assigned replacement value. If your solar system was installed after your current policy was written and you did not notify your insurer, there is a real possibility that a damage claim gets denied on the grounds that the equipment was never included in your coverage. To understand more about protecting your solar investment, consider exploring solar panel backup solutions.
What to Verify With Your Farm Insurance Provider:
Scheduled Equipment Coverage — Confirm your solar array is listed as a scheduled item with current replacement value, not depreciated book value.
Wildlife Damage Exclusions — Many standard farm policies explicitly exclude damage caused by rodents, birds, or insects. Ask directly whether animal-caused wiring damage is covered.
Hail and Wind Riders — In high-risk weather regions, hail and wind damage to solar equipment may require a separate endorsement on top of your base policy.
Business Interruption or Lost Production Coverage — Some agricultural policies offer coverage for lost energy production during repair downtime. Most do not include this by default.
Deductible Levels — Solar panel repair claims are often below standard farm policy deductibles, meaning many smaller damage events are out-of-pocket regardless of coverage.
The wildlife damage exclusion is the clause that catches most farmers off guard. Rodent chewing through wiring is one of the most common and costly solar damage events on farms, but it falls under the same exclusion that covers termite or insect damage in most standard policies — meaning it is specifically not covered. The practical takeaway here is that physical prevention is not just a maintenance strategy, it is a financial one. Preventing rodent damage is the only reliable way to avoid absorbing that repair cost entirely on your own. For more insights on protecting your solar equipment, explore solar panel backup solutions.
Specialty agricultural solar insurance products do exist and are worth exploring if your operation has a substantial solar investment. Some providers offer policies specifically written for farm-scale renewable energy systems that include wildlife damage, production loss, and equipment breakdown coverage in a single product. Comparing those options against adding a solar endorsement to your existing farm policy is worth a conversation with an independent insurance broker who works in the agricultural space. Additionally, understanding the importance of solar panel backup batteries can further safeguard your investment.
How to Spot Damage Before It Becomes a Major Problem
Most solar panel damage on farms does not announce itself with an obvious system failure. It builds quietly — a shaded cell here, a loose connection there, a small entry point in the critter guard mesh that a mouse found three weeks ago. By the time the problem is visible from the ground or shows up as a noticeable drop in energy bills, the underlying damage is usually well advanced. Catching issues early requires a combination of scheduled physical inspections and active monitoring of system output data.
Visual Inspection Checklist for Farmers
A thorough physical inspection of a farm solar array takes less than an hour for most installations and should happen at minimum four times per year — ideally at the transition of each season. Walk the full perimeter of the array and work through the following checks systematically:
- Panel surface condition — Look for cracks, chips, discoloration, or areas of delamination in the panel glass or backsheet. Use a flashlight at a low angle to catch micro-cracks that are invisible in direct overhead light.
- Bird droppings and debris accumulation — Heavy buildup in specific zones often indicates a nearby roosting or nesting location. Clean panels and investigate the source.
- Critter guard and netting integrity — Check every fastener point along the mesh perimeter. Look for bent sections, pulled clips, or gaps where the mesh has separated from the panel frame.
- Wiring and conduit exteriors — Inspect all visible wiring runs for chew marks, abrasion damage, or conduit sections that have been displaced or loosened from their mounts.
- Mounting hardware and racking — Check for rust, corrosion, loose bolts, or any racking sections that show deflection or movement when tested with light hand pressure.
- Under-panel space — Use a mirror or phone camera to inspect the underside of panels for nesting material, droppings, or animal entry evidence without having to physically access the space.
- Inverter and combiner box exteriors — Check junction boxes and electrical enclosures for signs of moisture intrusion, pest entry, or physical damage to seals and gaskets.
Monitoring System Efficiency Drops as an Early Warning
Modern solar inverters and monitoring platforms provide real-time and historical production data that is one of the most valuable early-warning tools available to farm solar operators. A sudden drop in production on a clear day almost always indicates a physical problem — shading from debris or a bird nest, a failing cell string, or a wiring fault. Most monitoring platforms will flag anomalies automatically if threshold alerts are configured correctly at setup.
String-level monitoring takes this a step further by isolating which specific group of panels is underperforming, rather than just flagging overall system output. For a large ground-mounted farm array, string monitoring can reduce diagnostic time from hours to minutes by pointing directly to the affected zone. If your current inverter or monitoring setup only provides system-level data, adding a string monitoring module is a worthwhile upgrade that pays for itself quickly in reduced diagnostic labor costs.
Gradual efficiency decline is harder to catch than sudden drops, but it is actually the more common pattern for wildlife-related damage. A bird nest building up under panels over several weeks, or a partially chewed wire that still conducts but with increased resistance, will show up as a slow downward trend in production data over time rather than a sharp cliff. Comparing monthly production averages against the same month in the prior year — accounting for weather variation — is a simple way to spot gradual degradation before it becomes a major repair event.

Protect Your Solar Investment Before Damage Hits
The farmers who get the most out of their solar systems are not the ones who react fastest after damage happens — they are the ones who build protection into the system from day one and treat maintenance as a scheduled operating cost, not an emergency expense. Critter guards, wire conduit, vegetation management, seasonal inspections, and output monitoring together form a complete defense that keeps repair costs low and energy production high across the full life of the installation.
Frequently Asked Questions
Here are answers to the most common questions farmers have about protecting solar panels from damage on working agricultural properties.
Can birds permanently damage solar panels on a farm?
Yes — bird activity can cause permanent damage through several mechanisms. Acidic bird droppings that sit on panel glass for extended periods etch into anti-reflective coatings and, in severe cases, into the glass surface itself, creating permanent optical degradation that cannot be cleaned away. Nesting material that traps moisture against panel frames accelerates corrosion of aluminum framing and mounting hardware over time.
The cell-level damage from sustained shading caused by nesting debris is also cumulative. Solar cells that are repeatedly shaded develop what is called a hot spot condition, where the shaded cell dissipates energy as heat rather than producing it. Repeated hot spot events degrade the affected cells permanently, reducing the output of the entire panel string they belong to. Removing bird access early — before nesting becomes established — is the only way to prevent this type of progressive damage.
How often should farmers inspect their solar panels for damage?
At minimum, a full physical inspection should happen four times per year — once per season. In practice, adding a brief visual pass during regular farm rounds once per month costs almost no additional time and catches visible issues like accumulated debris, obvious critter guard damage, or exposed wiring before they develop into larger problems.
After any major weather event — hailstorm, high-wind event, or heavy snow load — an unscheduled inspection of panel surfaces and mounting hardware should happen within 24 to 48 hours. Storm damage that is caught immediately can sometimes be addressed with minor repairs; the same damage left unattended for weeks typically requires full panel replacement by the time it is discovered.
Are critter guards worth the cost for farm solar systems?
Critter guards are one of the highest-return protective investments available for farm solar installations. A full critter guard installation on a typical farm-scale array runs a fraction of the cost of a single rodent wiring damage repair event — and rodent damage is not a question of if on most agricultural properties, it is a question of when. Beyond the direct repair cost savings, critter guards also eliminate the recurring labor cost of clearing bird nests from under panels, which on unprotected systems becomes a recurring maintenance task every nesting season.
What type of solar panels are most resistant to hail damage?
Monocrystalline and polycrystalline panels with tempered glass rated to IEC 61215 standards offer the baseline hail resistance that most quality manufacturers build to. Beyond standard tempered glass, panels with thicker glass lites — 4mm or greater compared to the standard 3.2mm — provide meaningfully better impact resistance. Some manufacturers, including Solaria and SunPower, produce panels with enhanced impact ratings that exceed the standard IEC test parameters. For farms in high-hail-frequency regions, pairing impact-rated panels with polycarbonate panel covers provides the strongest available protection against hail damage at the panel surface level.
Will adding protection to my solar panels void the manufacturer warranty?
In most cases, adding external protective accessories — critter guard mesh, bird netting, panel covers, or spike deterrents — to a solar array does not void the manufacturer warranty on the panels themselves, as long as the accessories are attached to the mounting racking rather than directly to the panel frames or glass. Most panel warranties specifically cover defects in materials and workmanship originating from the panel itself, and external accessories attached to surrounding hardware do not constitute panel modification under the terms of most warranty documents.
The situation changes if installers drill into panel frames to mount accessories, apply adhesive products directly to panel glass or backsheets, or modify electrical components in any way. Any mechanical attachment or chemical application made directly to a panel — rather than to the racking or mounting structure around it — has the potential to be cited as a warranty-voiding modification depending on the specific manufacturer’s terms.
The safest approach is to review your specific panel manufacturer’s warranty documentation before installation of any accessories and, if there is any ambiguity, request written confirmation from the manufacturer that the intended protection method will not affect warranty coverage. Most reputable manufacturers will respond to this request quickly, and having that confirmation in writing protects you in the event of a future warranty claim.
Farmers who rely on solar panels for their operations often face challenges in ensuring consistent energy supply, especially during nighttime or adverse weather conditions. One effective solution is to consider various solar panel backup batteries that can store energy for use when sunlight is not available. By investing in reliable battery systems, farmers can maintain continuous power and protect their crops and equipment from unexpected power outages.


Leave a Reply